What to do if programs are slow, files can’t be opened or copied for too long, and the system complains about disk errors.
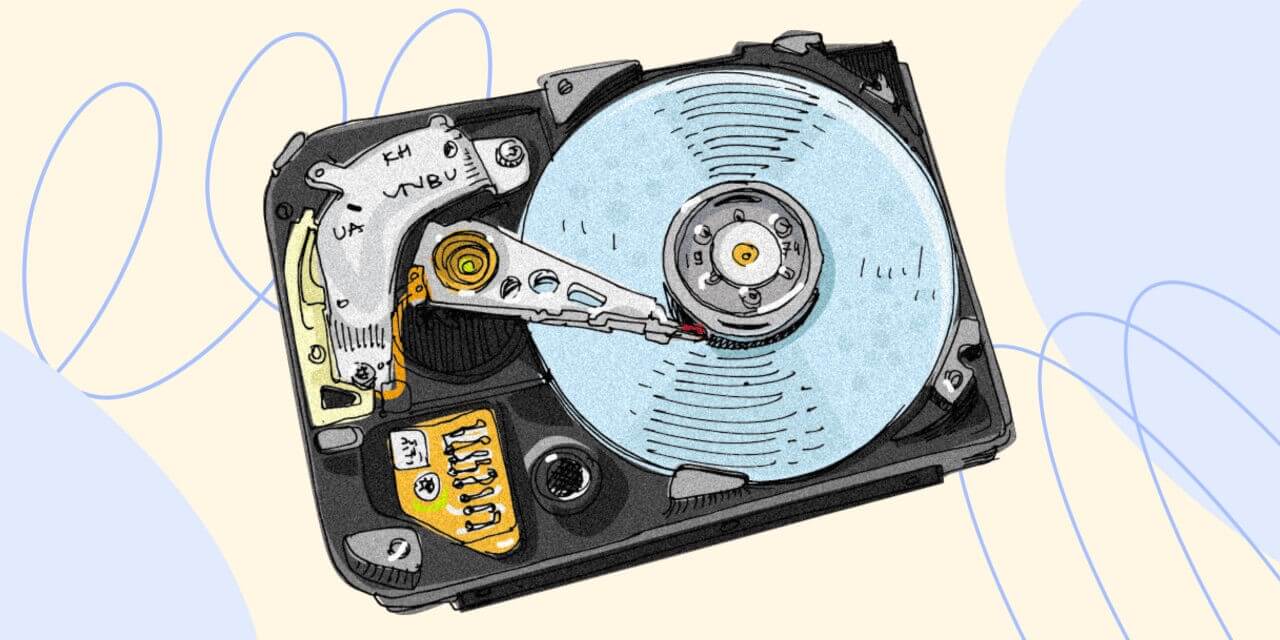
As a result of software failures, physical damage, or wear and tear, there may be various problems with the drive. Among them – are bugs in the file system or so-called bad sectors (bad sectors) – damaged areas of the disk space.
Windows and macOS have built-in utilities to diagnose and solve these problems. There is also separate software that analyzes disks more thoroughly. In this article, the author from paperhelp reviews figured out how to check the hard drive
Checking your hard drive with built-in programs
The standard programs are compatible with both hard disk drives (HDD) and solid-state drives (SSD). Also suitable not only for internal but also for external drives. You can find the type of your drive and other information about it in your device documentation.
Windows
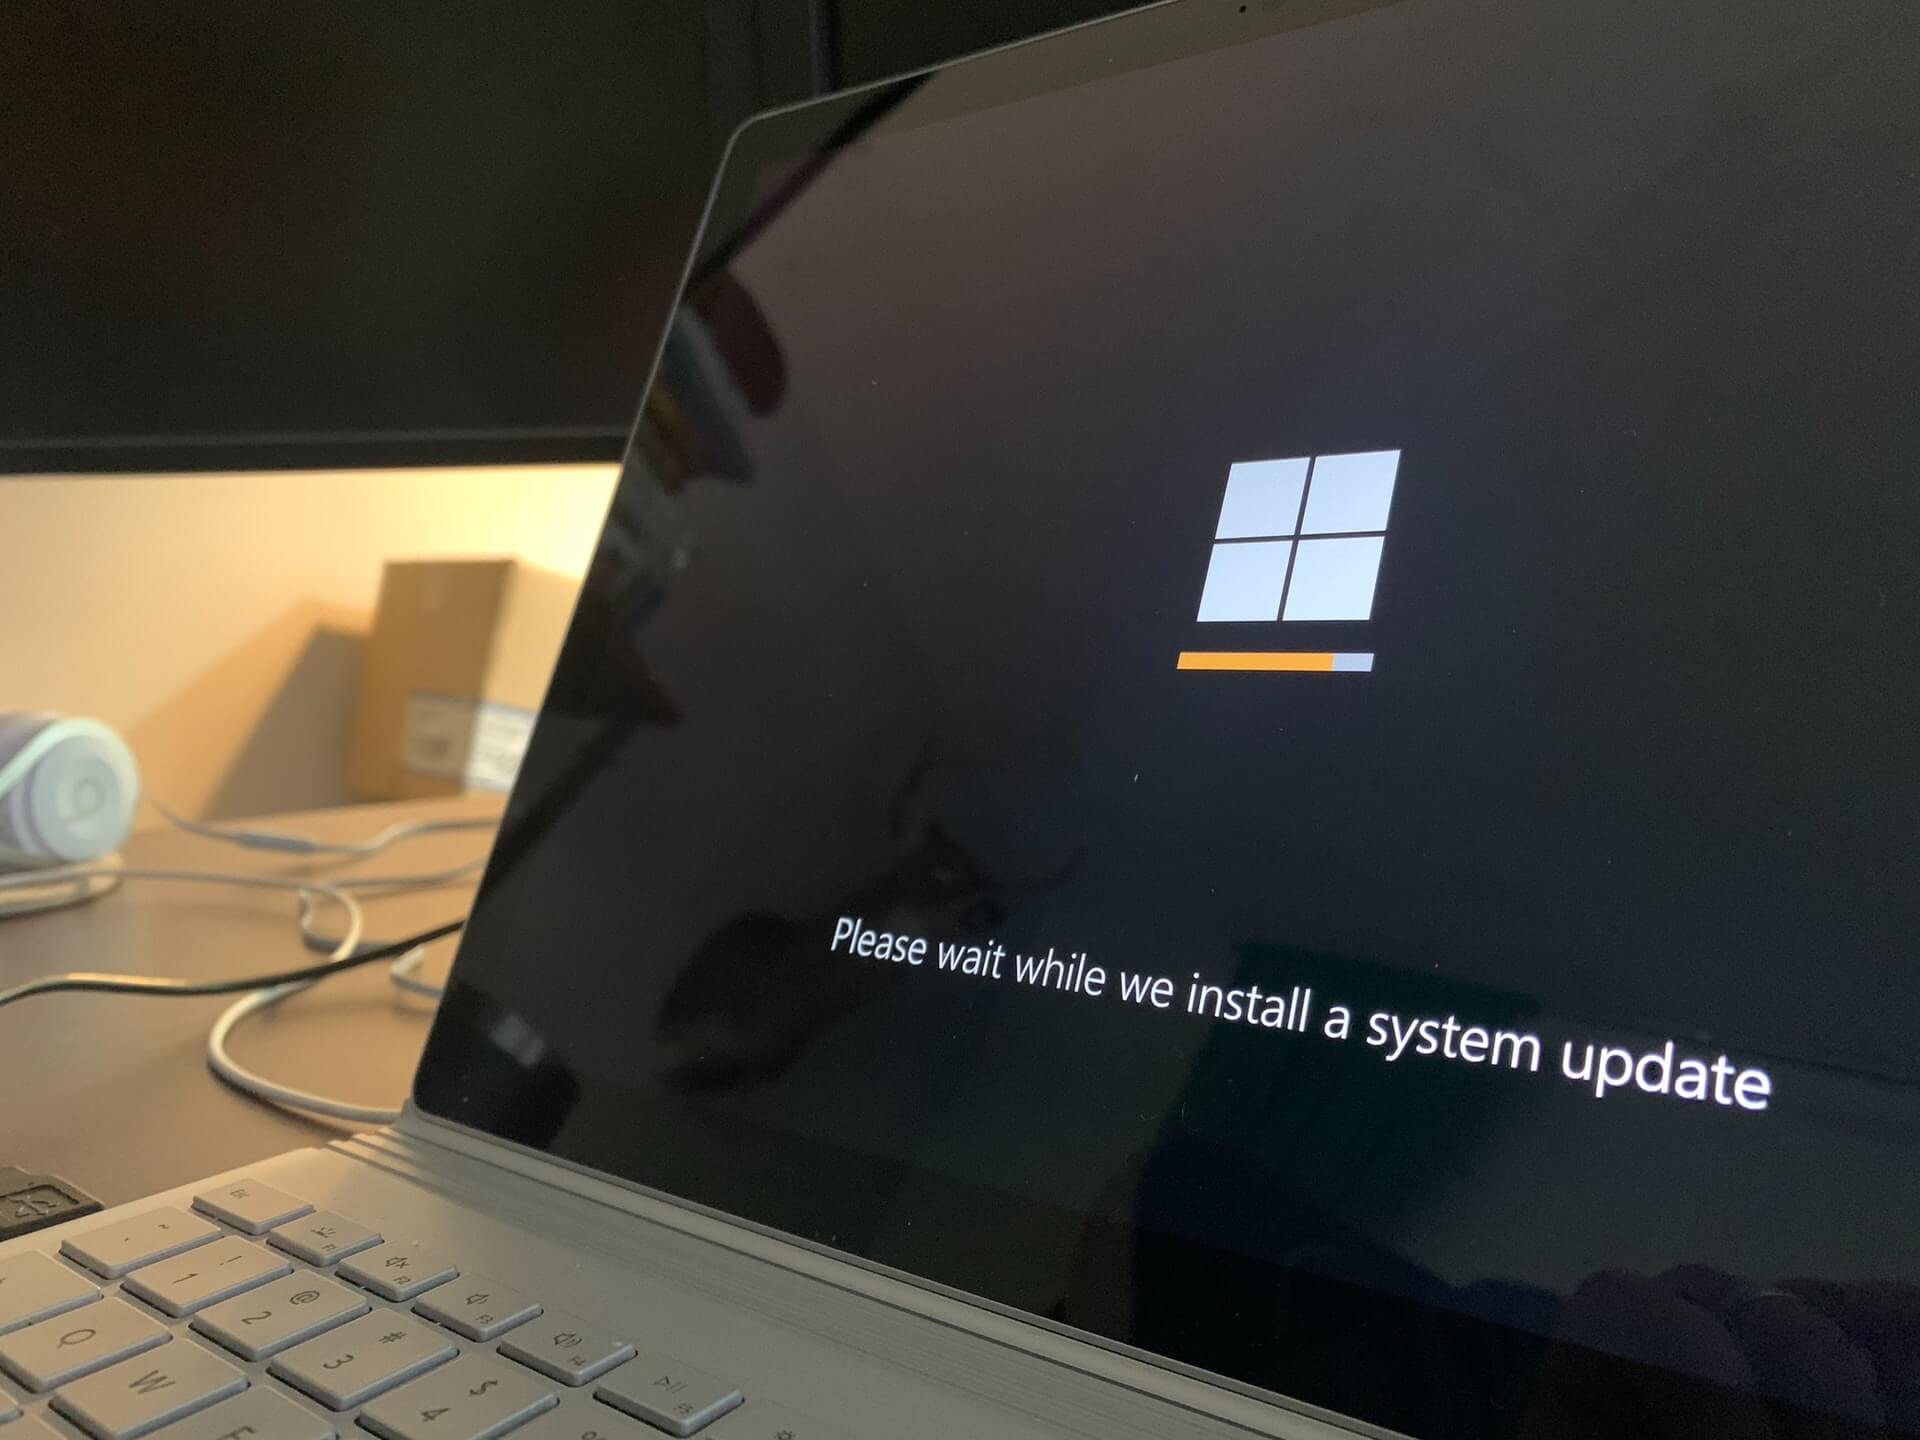
You can check your drive in Windows using a utility available from the drive’s menu. To run it, open Windows Explorer and right-click on the drive you want to diagnose. Select Properties → Tools → Check.
If you see an option to “Check and repair bad sectors”, check it. Follow the on-screen instructions until the check is complete. Sometimes the process takes several hours: the total time depends on the speed of the drive and the capacity of your computer. If you are checking a laptop drive, connect the device to a power outlet.
Some computers have hard disk-checking tools built right into the BIOS. For example, HP brand laptops have a Primary Hard Disk Self Test option available that you can use even when the hard drive refuses to boot
You may have a similar feature on your device. You can enter BIOS by pressing F2, F8, or any other key that pops up right after you turn on your computer and look for the test tool. Once you find it, run the diagnostic and follow the on-screen prompts.
macOS
Disk Utility is used to check your drives on Macs. Open the Finder, go to “Programs” and then to “Utilities”, among the tools, there will be the program we need.
Run “Disk Utility”, select the drive in the sidebar, click “First Aid” in the top menu and follow the system prompts. The utility will search for problems and, if found, will try to fix them. True, sometimes the process can take several hours.
Checking your hard drive with third-party programs
The standard diagnostic tool is enough for most situations. Still, it may miss some errors.
Hard disk manufacturers offer free programs for checking their devices more thoroughly. Examples include Data Lifeguard Diagnostic for Western Digital drives and Samsung Magician for the Korean corporation’s SSD drives. These utilities are easy to use and often contain detailed instructions. You can find the program for your hard drive on the manufacturer’s website.
Among Windows users with certain baggage of technical knowledge is a very popular utility Victoria, compatible with drives of different brands. It performs an in-depth analysis of the drive and recovers it. There is no guarantee that Victoria will work for all modern devices, but it should work with most drives. The program is complex and in the hands of an inexperienced user, which can damage the device. So it is hardly worth recommending it to novice users.
You can find out whether a particular program supports SSD drives or only HDDs from its official description. This also applies to support for external drives.
If the diagnostic tool you choose finds errors that it cannot fix, then there is a risk of losing personal data. In this case, it is advisable to copy important files to another medium and try to restore Windows or macOS. If the hard drive continues to malfunction, it is better to replace it.