How To Draw A Wine Glass On Adobe Illustrator
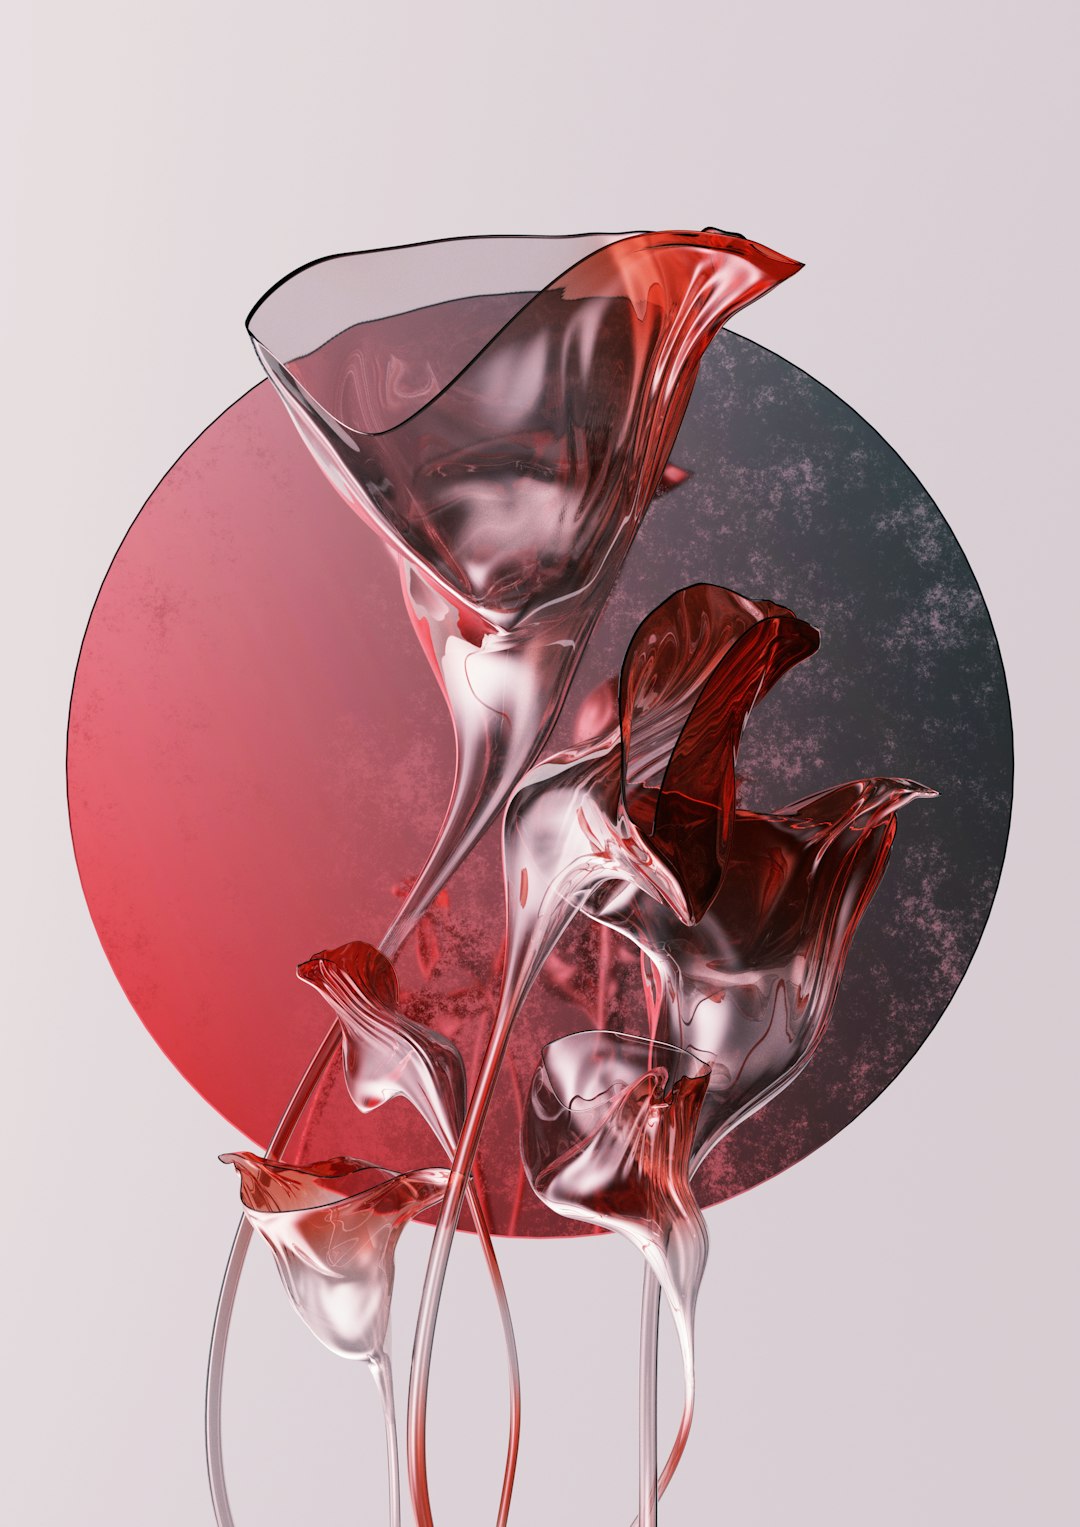
Creating a digital illustration of a wine glass in Adobe Illustrator is an excellent way for beginners and professionals alike to improve their vector drawing skills. Using the basic shapes, pen tools, and effects, one can craft a clean and elegant wine glass illustration that can be used in menus, branding, or as part of a larger design project. Follow this guide to learn how to draw a wine glass in Adobe Illustrator step by step.
Step 1: Set Up the Document
Start by launching Adobe Illustrator and creating a new document. Choose an appropriate size, such as 800×800 pixels, to give yourself plenty of space. Ensure the RGB Color Mode is selected for digital illustrations or CMYK if it’s for print.
Step 2: Create the Basic Wine Glass Shape Using Shapes
Using the Ellipse Tool (L), draw a perfect circle to form the bowl of the wine glass.
- Hold down the Shift key while dragging to maintain a perfect circle.
- Use the Direct Selection Tool (A) to manipulate points if necessary.
Next, use the Rectangle Tool (M) to draw the stem and the base. Adjust the width and height to maintain realistic proportions compared to the bowl.
[ai-img]wine glass vector, illustrator shape, drawing tutorial[/ai-img]Step 3: Combine and Refine Shapes
To give the wine glass a more realistic and curved appearance, convert the circle into an oval shape and merge shapes together:
- Select both the bowl and the stem and use the Pathfinder Tool to unite them.
- For a more sophisticated look, use the Pen Tool (P) to draw a customized silhouette on one side of the glass.
- Reflect the path using the Reflect Tool (O) to create a symmetrical glass.
This method helps in creating a perfectly mirrored and clean design, especially useful for symmetric objects like a wine glass.
Step 4: Add Highlights and Depth
Once the wine glass shape is finalized, it’s time to apply color and add highlights to simulate the glossy surface of the glass.
- Use a gradient with white and light gray to mimic the transparency of glass.
- Apply the Linear Gradient Tool (G) to different parts of the glass shape.
- Add white rectangles or thin lines with reduced opacity for shine and reflection.
Step 5: Detailing the Wine Inside the Glass
If the goal is to depict a filled wine glass, create a slightly smaller oval inside the bowl to represent the wine level.
- Use rich red colors for red wine or pale yellow for white wine.
- Apply inner shadows or slight gradients for a realistic fluid effect.
Make sure to keep the wine fill layer below the shine and highlight layers. This provides a layered, three-dimensional effect, helping the glass look more realistic.
Step 6: Final Touches
Group all elements of the wine glass using Ctrl+G or Cmd+G (on Mac). This allows you to move or scale the wine glass as a single object.
If you prefer adding a subtle shadow or reflection below the glass, use a soft black ellipse with reduced opacity. This anchoring element adds realism, especially in a minimalist scene.
Frequently Asked Questions
- Q: Can I use this technique for other types of glasses?
A: Yes, the basic principles can be applied to martini, champagne, or whiskey glasses as well. Just adjust the shape proportions accordingly. - Q: How can I make the glass look more realistic?
A: Layer gradients, highlights, and shadows to simulate light interaction. Also, consider soft reflections and background context. - Q: Can I animate the wine glass in Illustrator?
A: Illustrator is primarily for static vector art. For animation, consider exporting your illustration to Adobe After Effects. - Q: Is there a shortcut to create symmetrical shapes?
A: Draw half the object and use the Reflect Tool (O) with “Copy” selected. This gives you a symmetrical mirror image that you can join.
With patience and attention to detail, anyone can draw a stylish and professional wine glass in Adobe Illustrator. Whether it’s a design for a winery or a personal project, mastering the process adds a valuable skill to any designer’s toolkit.


